Upgrade your home to 10GB Ethernet
About 2 weeks ago I made the decision to add wired, 10GB, Ethernet into my home. I’m thrilled it’s done because I hated doing it and I made loads of mistakes. The good news is I learnt lots along the way, and I’m here to save you from making any of those mistakes too!
Want to watch the video version of this? It’s on my YouTube channel.
Why Ethernet?
Many people I spoke to about this before I started thought I was nuts. What’s wrong with WiFi?
It wasn’t about coverage. I’ve already put a Tenda mesh WiFi around the house which means you can get WiFi everywhere. That solved that problem.
Primarily, this was about latency, and to a lesser extent, dependability.
Here is the comparison numbers for me pinging google using WiFi:

And here are the numbers with Ethernet:

That’s 40ms better on average than with WiFi. Most would say that’s not worth worrying about. I disagree. It annoyed me constantly, every single time I click a link in the browser, that slight delay bugs me.
Now, I know what you’re thinking; Powerline adapters. These plugs you stick in the wall that can carry network data over the power cables. Sure, they are OK in a pinch, and if you only need a couple, but I needed a minimum of 4 Ethernet points around the house and the Powerline adapters started to get really flakey with that many. Plus the network speed all but vanished as soon as there was noise on the power, like a tumble dryer or washing machine for example. So that was those ruled out too.
So, Ethernet was the way to go.
Why (10Gb) Ethernet?
Now, that latency problem can be solved with standard 1Gb Ethernet. So why bother with 10GBe? Well, I’m creating a lot of video content (YouTube, courses) at the moment, and frequently uploading 2GB video files over WiFi isn’t ideal. Plus I needed a way to back the videos up – and a single external drive is too risky. This led me looking at RAID capable backup devices. Then, instead of a USB or Thunderbolt device, I wanted a NAS so it can live anywhere on the home network, so others can use it and I can have something like Node running locally on it for development experiments. So, I wanted a 10GBe NAS so it would have fast enough access for video files over that network.
Now, you will have your own reasons for why you want 10GBe, they were mine. So with some need established, how do we get on and make this 10GB Ethernet happen? Primarily, you’ll need the right switch, cables and connectors.
Let’s look at the main hardware and then the details of network testers, crimping tools and all the things needed to piece it together.
Switches
Right now, there are hardly any affordable network switches that support 10GBe. I paid £125 for a Netgear Nighthawk which is a frankly ridiculous looking thing, more like a miniature stealth bomber than a network switch but it was the cheapest I could find with a couple of 10GBe ports built in (the remaining ports are all standard 1 Gig).
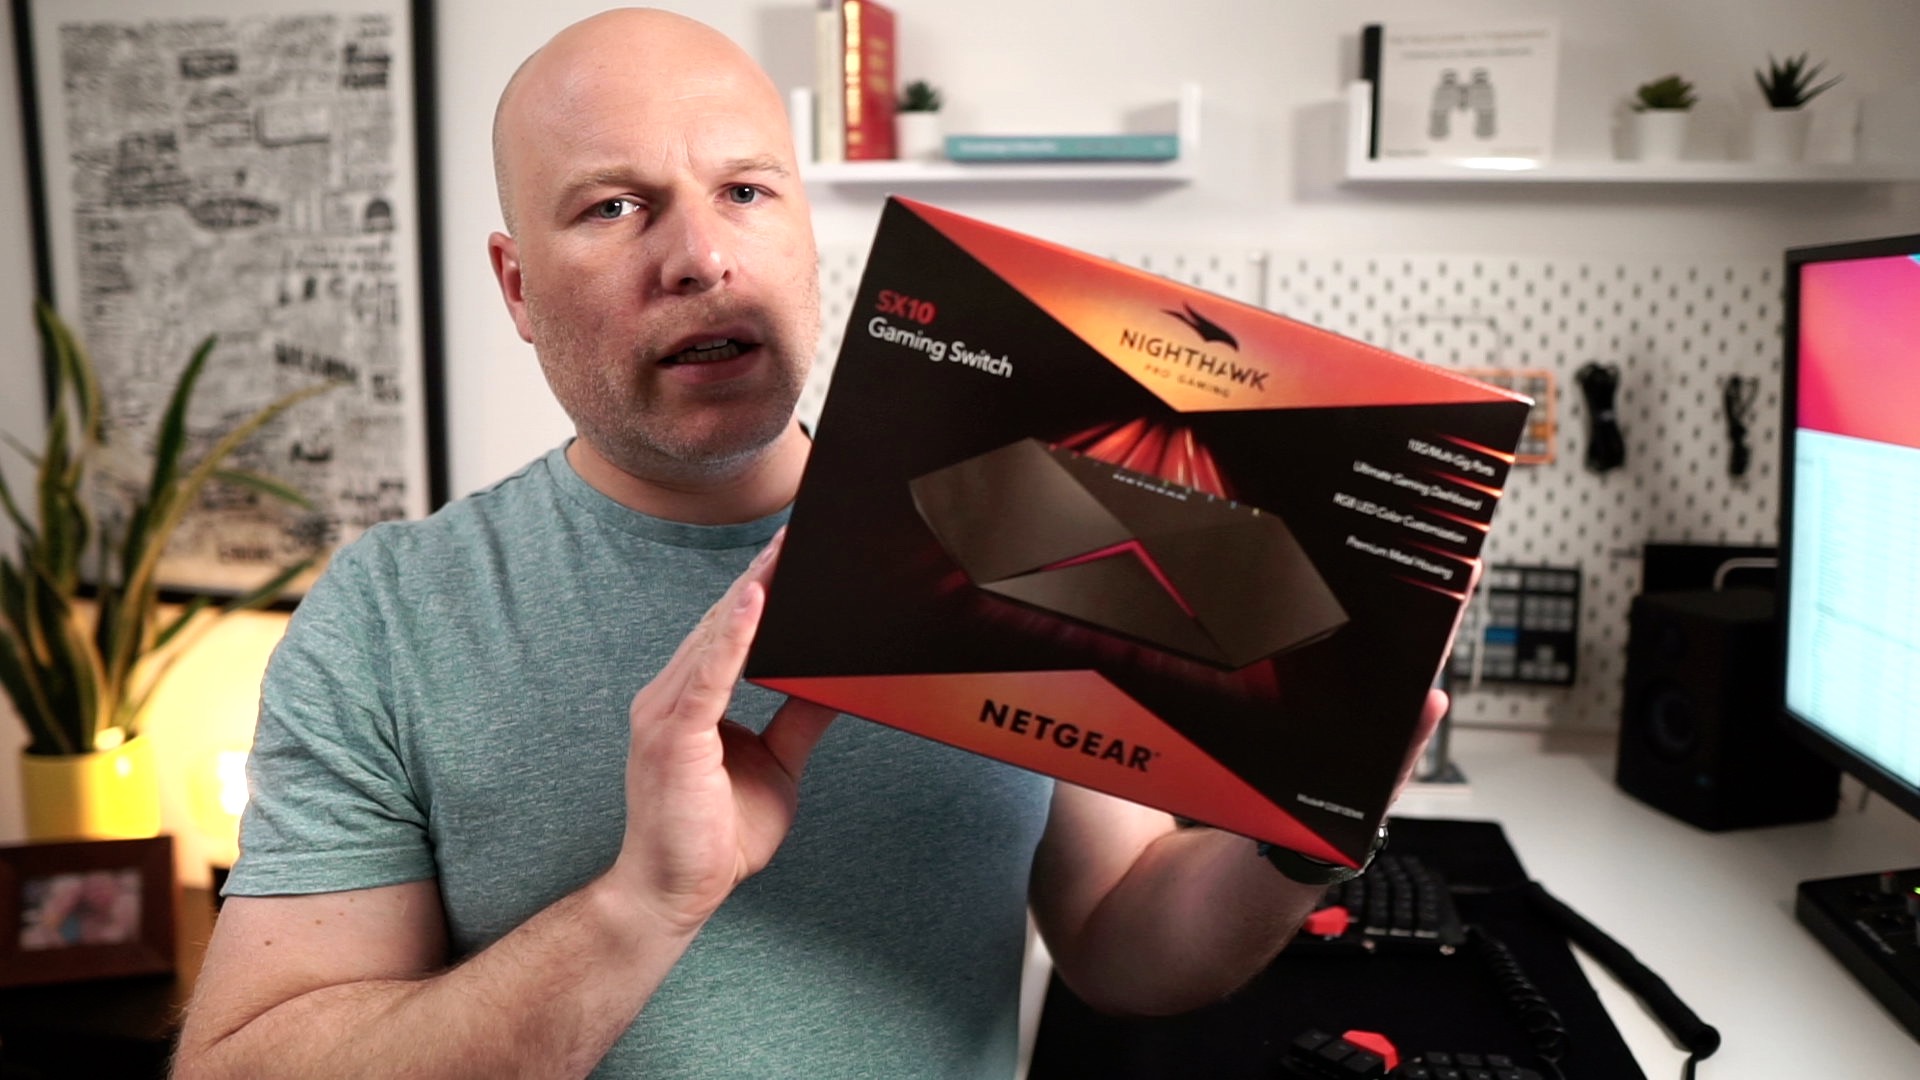
Expect to pay a lot more for a 10GBe switch than a 1GB. That’s just the way it is right now. Alternatively, you could always wire your house ready for 10GBe and stick a standard 1GB switch in for now, and upgrade to a 10GBe switch when prices come down, as a standard 1GB switch will work fine with 10GBe capable wiring.
What cable – Cat6, Cat6A or Cat7?
I’m going to save you a lot of time now. The short answer is, get Cat6 cable. There you go, you can skip ahead to the next bit now.
OK, if you want to know why, here we go…
I needed enough cable to do 3 lots of 2 drops. So that means for each network port on the wall I needed two lengths of cable, so I could have two ports. If you are going through the hell that is running cable around your house you may as well have two ports on each drop. That was my thinking anyway. So in my home office I have my work and personal machines connected direct to the Ethernet. I say ‘direct’ but as my work machine is a Macbook ‘Pro’ so I need about 15 dongles hanging out of the arse of it to connect it to something as exotic as an Ethernet cable. I blame Jony Ive!
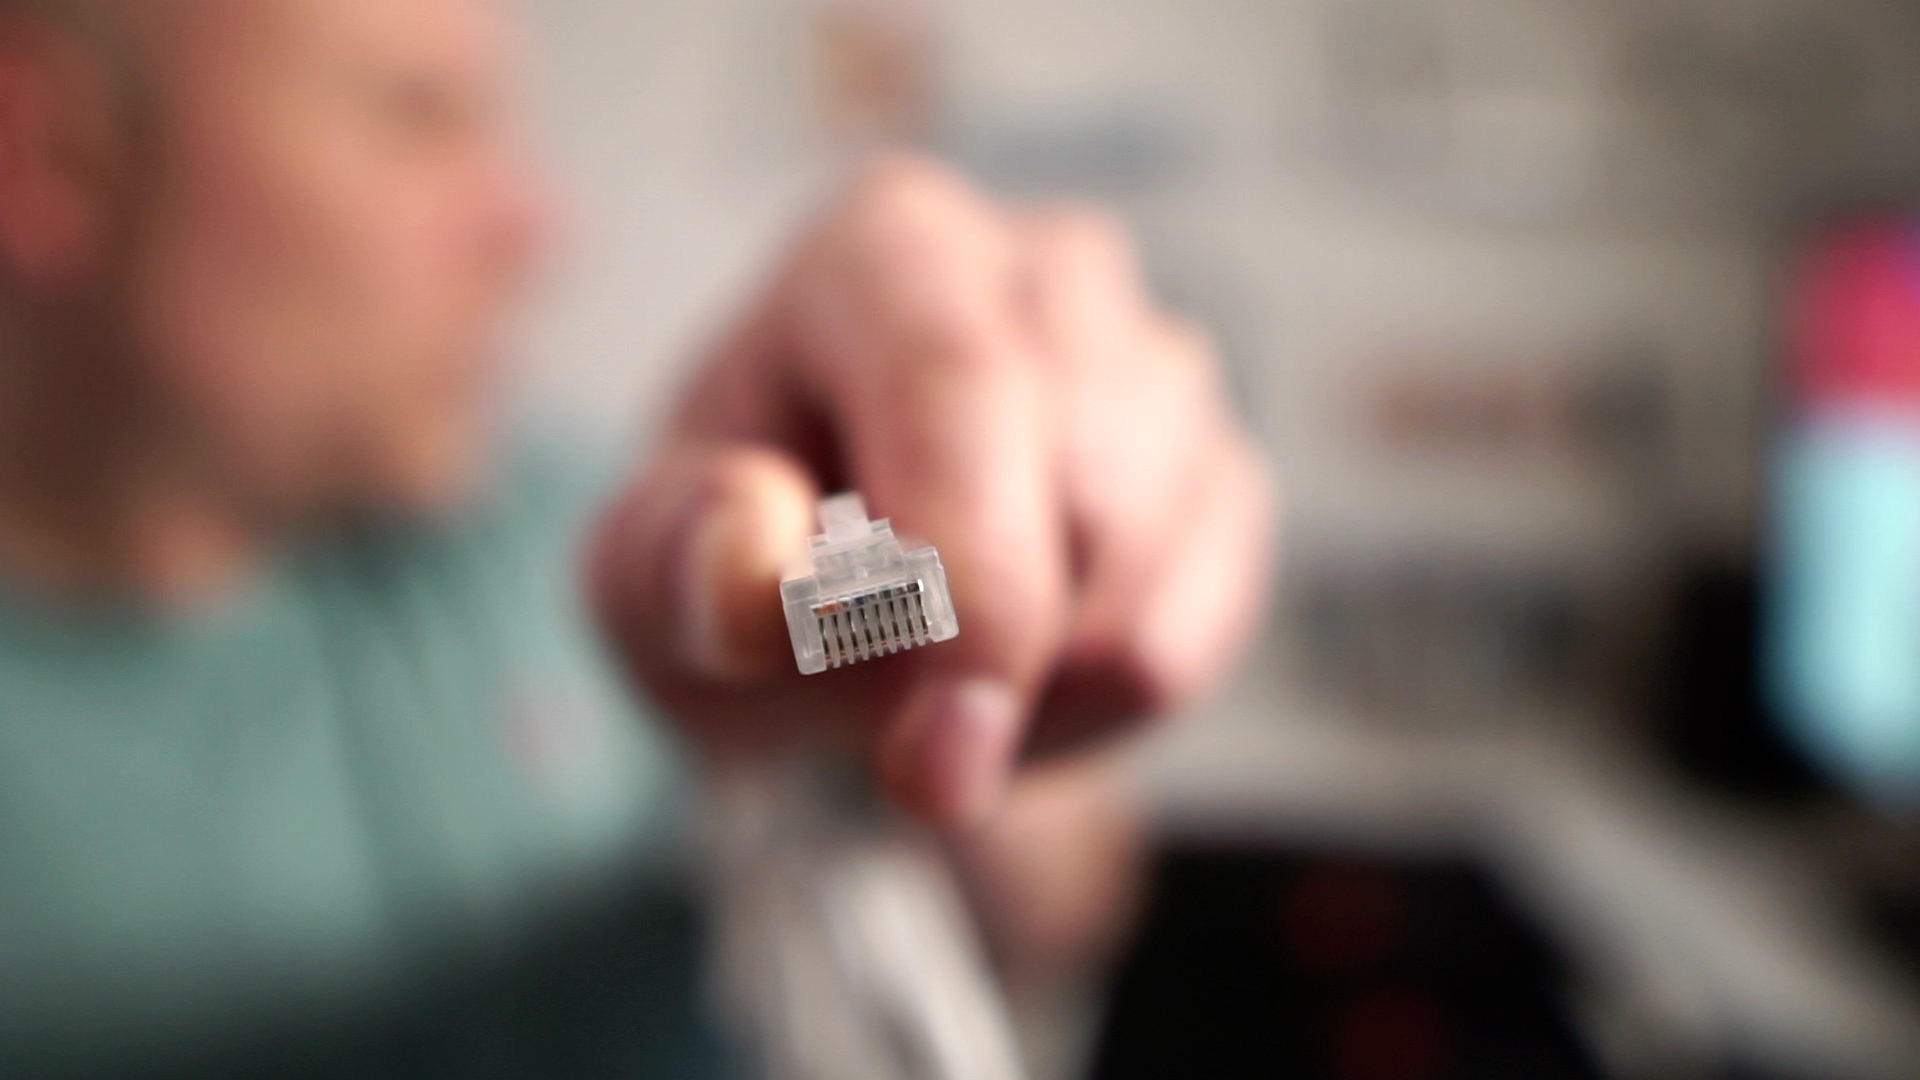
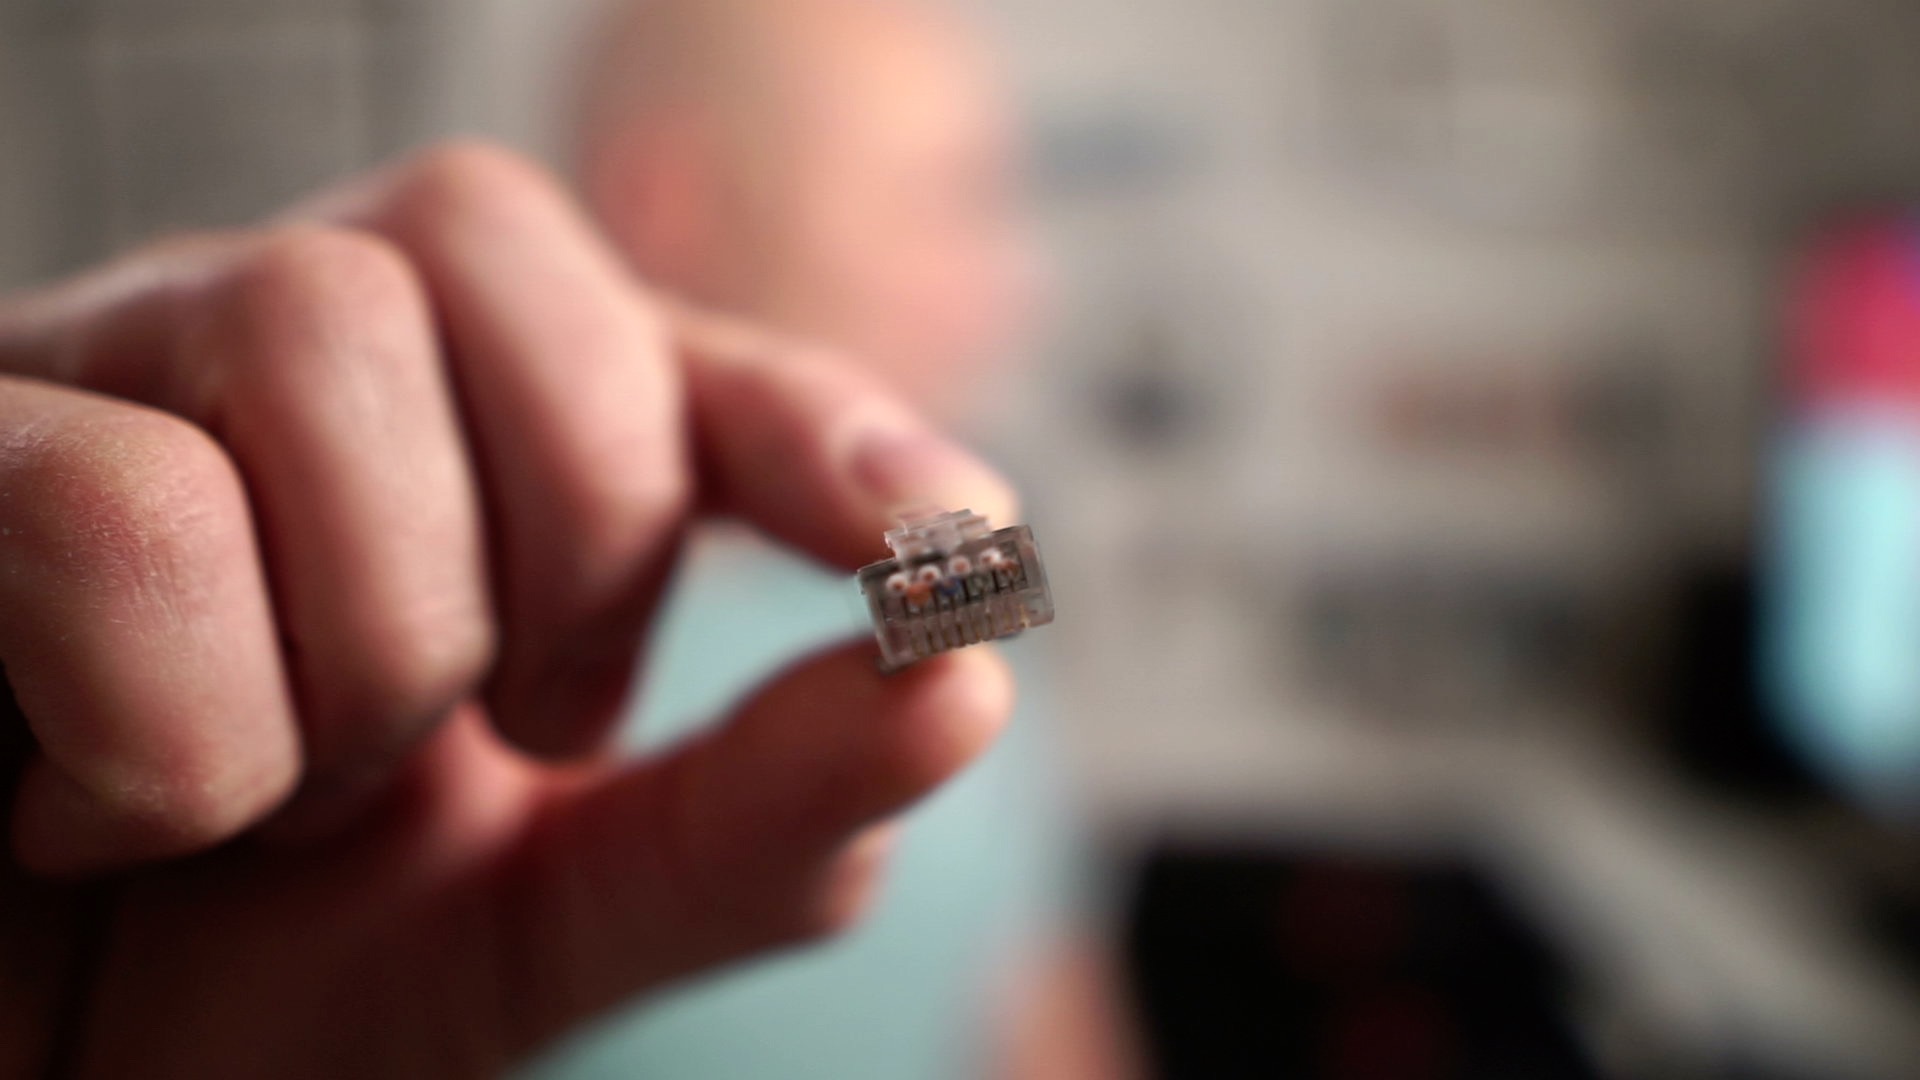
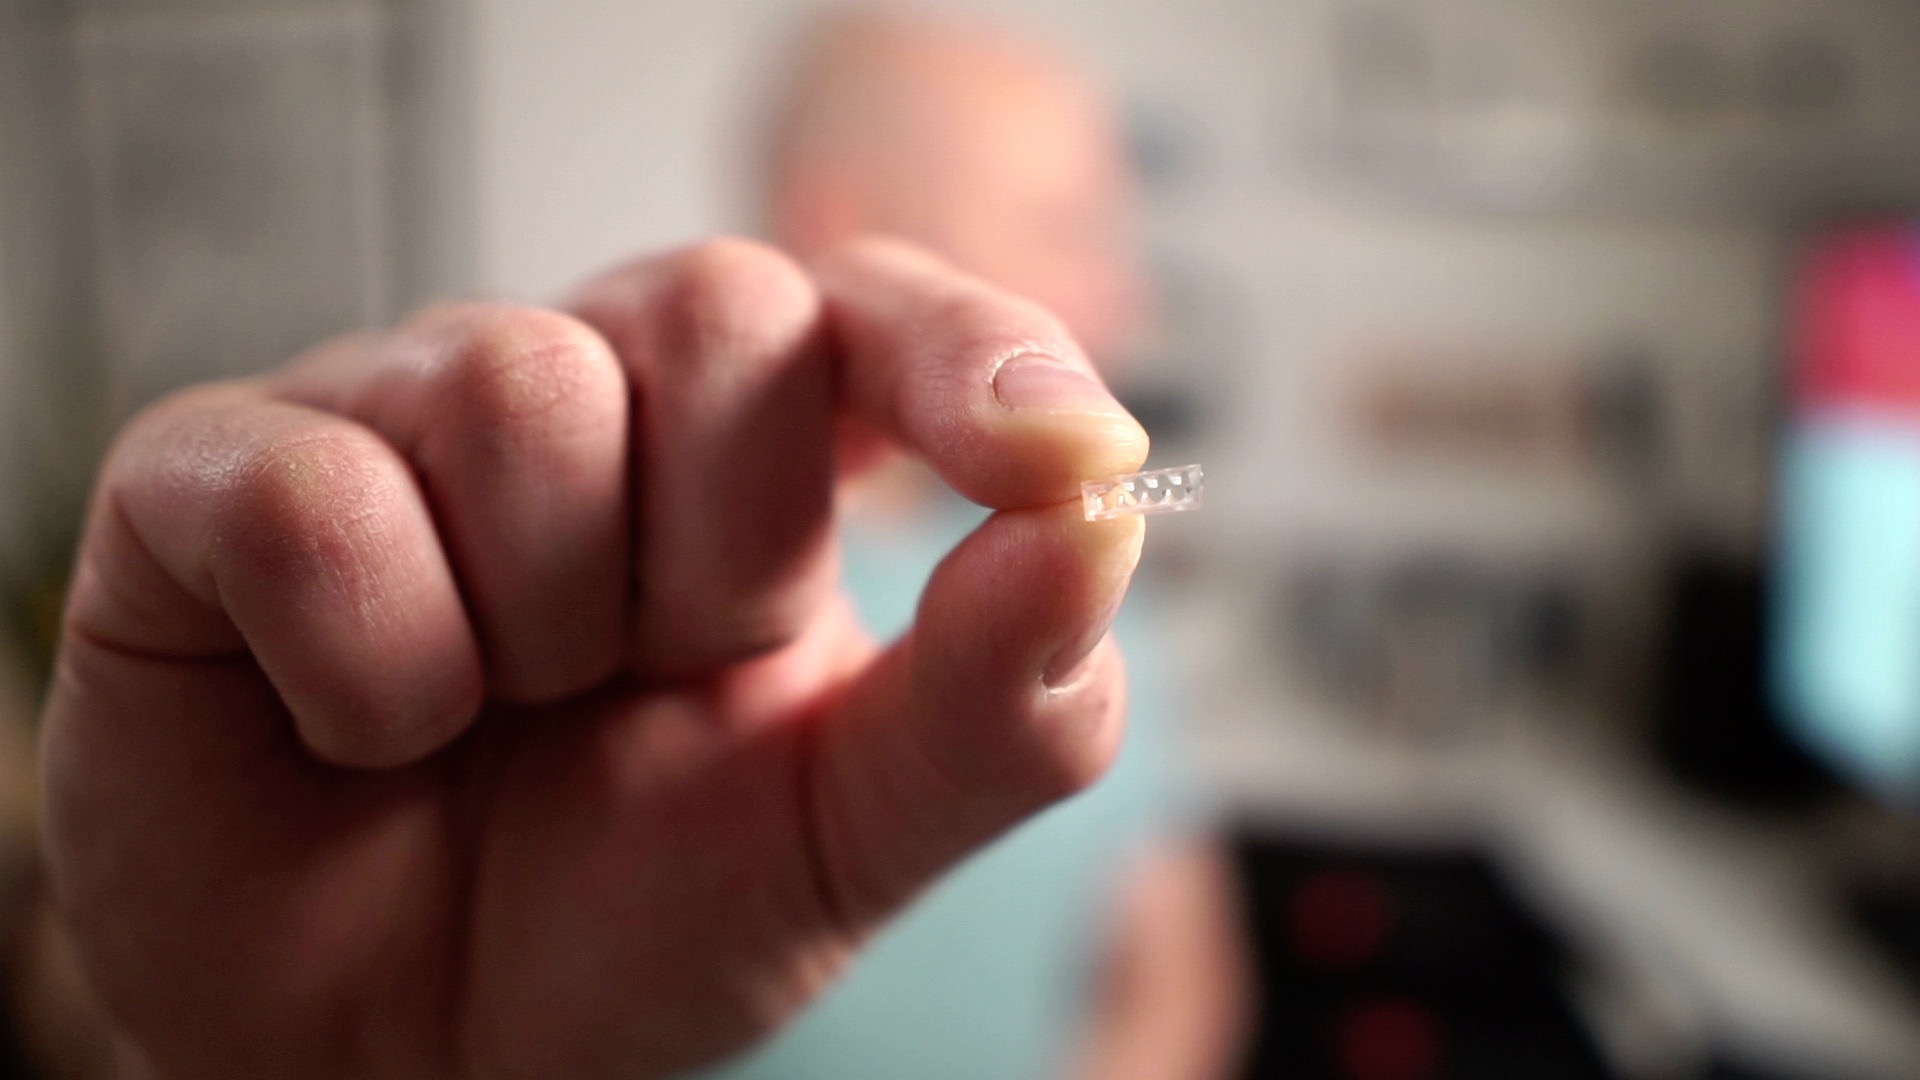
Cat5e is the ‘normal’ Ethernet cable you will be used to. Both Cat6 and Cat6a use the same, physical, RJ45 connector as Cat5e. However, crucially, the cable itself differs. It’s both thicker, and in the case of Cat6a, each twisted pair is individually shielded too.
This manifests in that where, within an RJ45 connector, Cat5e cable has all 8 internal wires in a line, Cat6 and Cat6a have this staggered format.
Because those cables are specified thicker, 23AWG, or American Wire Gauge in the case of 6A you get a better signal, which means faster sustained data speeds, and with 6a, the insulation around each twisted pair of wires means faster transfer over longer distances too.
Now, to be clear, with two 10GBe devices you can get 10GB transfer over just Cat5e, you just won’t get it over as long a distance. That’s why you wire with Cat6 or 6a. So if 6a is the better of the two, why am I telling you to use 6 over 6A? Simply because 6A is like the thickness of a babies arm! And I can tell you from bitter experience that trying to thread that down a wall cavity is a horrible experience! To be clear, I’m talking about threading cable down the wall not a babies arm – what’s the matter with you?
I’m exaggerating obviously, the Cat6a I had was only about 2mm wider than the Cat6, but it was far stiffer and that difference was very noticeable when trying to get two lengths of it through holes in exterior walls and the like.
For the distances I was running, Cat6 was more than good enough, as it can carry 10GBe for upto 55m. My runs were at most about 20m, tops and as an added bonus, Cat6 is considerably cheaper at about half the price of comparable rated Cat6a.
One more reason to not use Cat6a is that it made connecting the network wall sockets difficult. When I first put connectors on the end of the first two drops and then plugged in my tester I couldn’t understand why one wasn’t working. I assumed I’d messed up the order of cables. So I re-wired the RJ45 connector in the loft, and redid the connector on the wall. Same issue; I’d get a couple of lights on the tester and then half wouldn’t light up. Then I thought about the thickness of the cables and wondered if that was the issue. So I stripped the insulation off each individual wire before pushing them in to the little grippers so I could be certain I was getting copper on copper connection and hey presto, that was the issue. That’s not the recommended way of connecting the wall plates, you’re supposed to let the metal teeth bite through but if you’re using thicker 6a cable you might need to. I certainly did the same thing with the other plates that had 6a running into them.
Now, one other point on the exciting topic of cable; be sure to get full copper wire cabling. Don’t touch anything marked as ‘CCA’ or similar. That’s copper covered aluminium, which is cheaper but frankly crap and unlikely to perform as well as you would hope.
So, to summarise, get standard Cat6, with full copper wire. If it’s going to run outside, ensure it’s rated to do so. Don’t worry if you end up with some of each for different runs, they play quite happily on the same network switch. I have 3 ports with Cat6, and 3 ports with Cat6a, and they are mixed within a single wall socket in some cases but they all go into the same switch – it’s no problem. If I was doing it again I would just have them all use Cat6.
Cable plugs and terminating the cables
You wouldn’t think the subject of cable plugs would warrant its own section would you? Well, it does. The first Cat6a rated connectors I bought were awful – basically impossible to get the individual cables down. The ones you want are like this and they come with a cable guide.
You strip your cable back, slide your boot on (which I forgot to do about 50% of the time), push the cables through the guide, trim them off so there is 2-3mm poking out, then shove them in the plug until you can see the end of the wires. Pro tip, have a torch handy as the copper catches the light so it’s easier to see if they are all in position. Then you may want to just gently squeeze the cable insulation a little to make it a little flatter and able to fit in the plug more easily. Then, crimp the plug, tighten the metal collar, and push the boot back over the end.
When it comes to wire order, the network wall plates have their own markings. The ones I got had one for the 568A standard on the inside, one for 568B standard on the outside. Those two are just different standards for how to wire the connectors. A different order of the same internal wires, that’s all. You want 568B – that’s just what everything I own has already and seems to be what everyone uses, and it’s the preferred standard in the US. You can do it the other way around if you want but then generally, all your cables need to be the same way too.
What you need to do the job
Every house is constructed differently so the particulars of which drill bits and how to run your wire are out of scope.
However, there are a few particulars that I think everyone is going to need. These are linked up with affiliate links in the vein hope I might make 20p from Amazon if someone buys one:
-
Fibre glass rods – these are great for threading cables. You shove one through a gap, screw another on the end, push that and then when you have enough length where you want it, tape on your cable and pull the cable through. These are cheap enough and I’ve used them for lots of other jobs too so I think they are money well spent
-
A network ‘kit’ – I got this one which had everything I needed plus some things I still don’t know what they are for. You definitely want one of these crimping tools, and you definitely want one of these. I wasn’t sure I needed this but it proved priceless. Once you’ve made up one cable you can check it works by sticking one end in one side, and the other in the smaller one, then switch it on and you should get each 8 lights lighting up in sequence, and the S part of the switch just slows it down. When you have a problem it does skips any of the lights. Don’t get hung up on which number doesn’t light up, just know there is a problem and you need to check your connections.
With a working cable, you can connect to the wall socket and either plug the other end in to your switch or the remote part. Then you know your wiring is good.
- other than that you’ll likely need basic tools like wire strippers, swiss army knife, screwdrivers etc
Victory and annoyances
I put off doing this job for literally years so it is great to finally have wired Ethernet in the house. I also have spare ports in the switch if I need to add any more drops in the future.
The speed and responsiveness difference of wired to wireless is obvious to me, and I’m looking forward to getting a 10GBe NAS attached and see how that performs.
I’ve got a M1 Mac Mini currently and it’s hugely irritating that you couldn’t order it with 10GBe port initially. That is an option now so definitely think about a 10GBe port built in if you’re in the market for a new computer.
If you need to add 10GBe to your computer it’s not cheap currently. A Thunderbolt to 10GBe adapter runs about £150 in the UK – so a significant outlay, and another thing to hang out of your machine. The factory fit 10GBe port on a Mac Mini is a £100 upgrade by comparison. I imagine a similar price across Windows and Linux boxes at the moment simply because the controllers themselves seem expensive.
Summary
Here is what you need to know in a nutshell.
- You need a switch that supports 10GB on at least a couple of ports, or wire for 10GBe now and switch out the switch in time when 10GBe switches are less expensive
- Use Cat6 cabling with full copper wiring, not some other metal covered in copper
- If your cable runs are outside ensure you get wiring rated for external use
- Get the RJ45 connectors with the guides, it will make wiring them a far easier job
- You can mix 6a and 6 cabling on the same network, it’s fine.
- With thicker cable like Cat6a you way need to strip the wire before sticking it in the wall plate
- Use the 568B wiring. That’s striped orange, orange, stripy green, blue, stripy blue, green, stripy brown, brown.
- Invest in a network testing kit, they are inexpensive compared to everything else but really help troubleshoot
- If you are in the market for a new computer, try and spec the 10GBe port in. They are expensive after the fact, use a port up and mean something else hanging out of your system
Good luck getting your own 10GBe Ethernet set up! Any queries, let me know in the comments!
Hi Ben,
That’s a really informative write-up, thank you. I’m considering adding some ethernet cabling in my home and just doing some research first and so was glad to come across your post.
They will all be fairly short cable runs so I’m certainly going with ‘just’ CAT6 rather than 6A, 7, or even 8.
Two quick questions, if I may:
1. How tricky was the cable-fishing process (given the fibreglass rod recommendation I’m guessing that you have walls with plasterboard on top and you ran the cables under the plasterboard)?
2. Do you also have a patch panel?
Cheers,
Richie